This post is sponsored by Natural Balance and the BlogPaws Professional Pet Blogger Network. I am being compensated for sharing my DIY Dog Treat Jar and helping spread the word about Natural Balance Wild Pursuit or Natural Balance Treats, but Blog by Donna only shares information we feel is relevant to our readers. Natural Balance is not responsible for the content of this article.
One thing I think all parents to four-legged, furbabies besides dog food is dog treats. We love ’em and want to reward them with a good healthy treat from time to time.
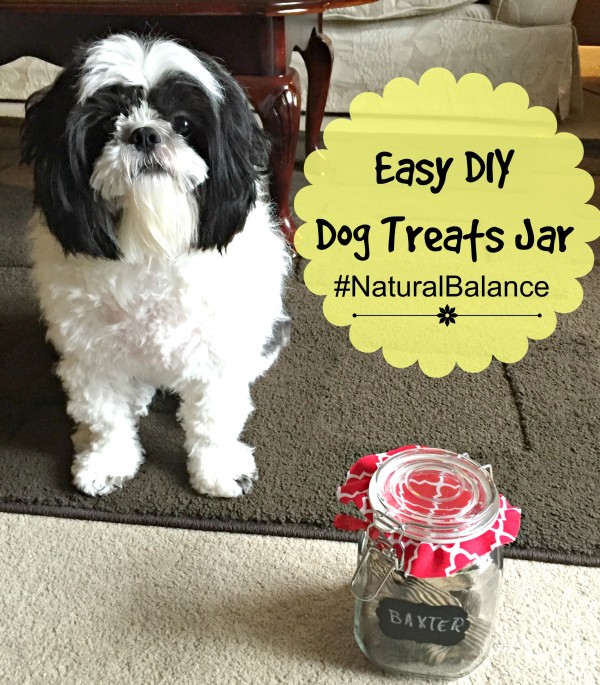
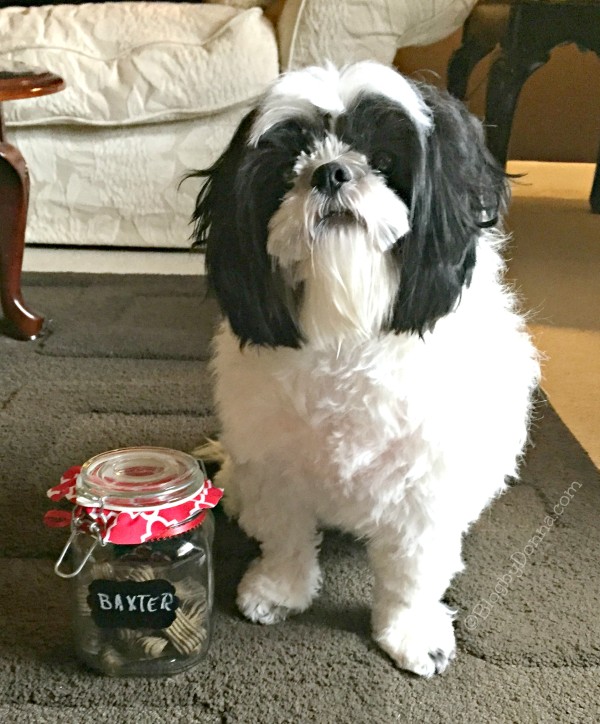
We sure do love our Baxter and enjoy giving him treats. We just want to make sure they are nutritious treats. Baxter is a character for sure and deserves a treat worthy of his unique personality.
I realized the other day that we have bags of treats just sitting in our sunroom and not only is Baxter to special to not have his own treat jar, but we give him high-quality treats and they should be stored in a nice treat jar, too.
So, I decided to make my own DIY dog treat jar. And all my dog-owned friends may be getting a DIY (made by yours truly) dog treat jar filled with the best pet treats from Natural Balance.
Admittedly, I am not very crafty. I also am a busy mom and needed to come up with something easy. While I was out shopping in a local craft store, I was inspired by all the Christmas themed stuff that is out.
However, I don’t want to be stuck with a Christmas themed treat jar in July. This led me to choose items that I could change out easily to fit whatever the holiday or season.
Check out how easy it is to make your own holiday dog treat jar to fill with healthy treats for your dog.
DIY Dog Treat Jar
What you need: A jar (I used glass, but you could use plastic), ribbon, scrap material, chalkboard stickers, chalk, scissors and a hot glue gun, and healthy treats like Natural Balance, of course.
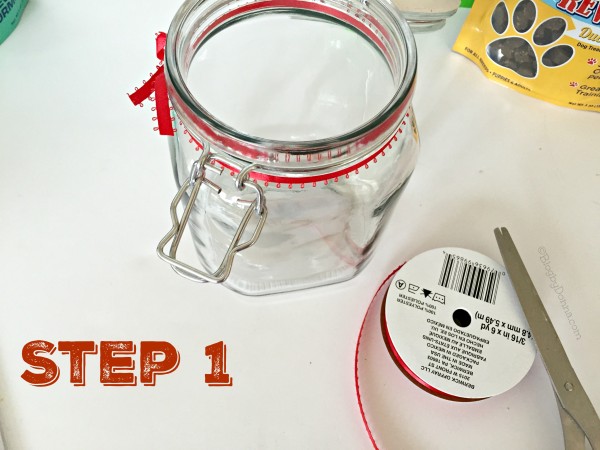
Step 1: Cut your ribbon to the length you need to go around the neck of your jar. You can use hot glue or fabric glue on the ribbon or just tie it like I did. I will be replacing my ribbon for different themes throughout the year.
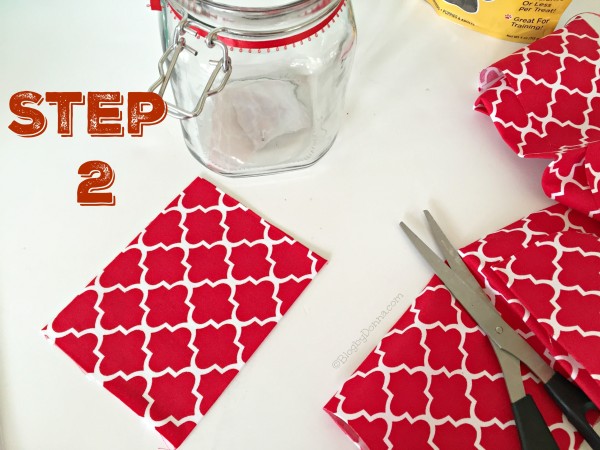
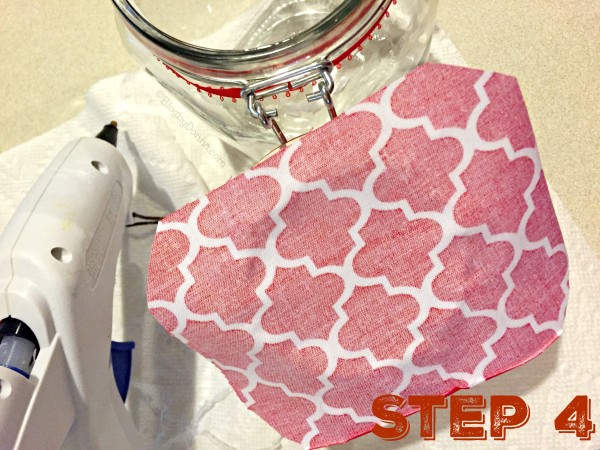
Step 2: Cut a square of cloth that will cover the opening of your jar with about an inch overhang all around. I had this red and white remnant and thought it would go well with my holiday theme treat jar. I can see using a pastel color for Easter or red, white, and blue for the month of July, etc.
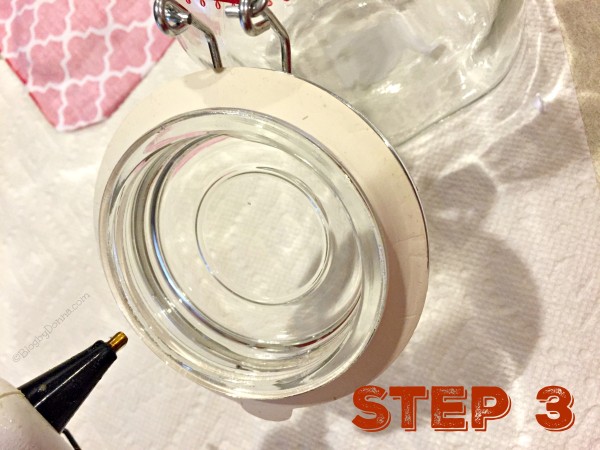
Step 3: Using a hot glue gun or adhesive of your choice, glue the cloth onto the inside of your lid. The glue will adhere to the cloth and glass, but you do have to work quickly. It will stick, yet it will be easy to remove from the glass when I’m ready to change out for the next holiday.
Step 4: Make sure that you attach the cloth so that when looking at the top of your lid when closed you are seeing the front side of your material.
Step 5: Stick your chalkboard stickers on the front and back of your jar.
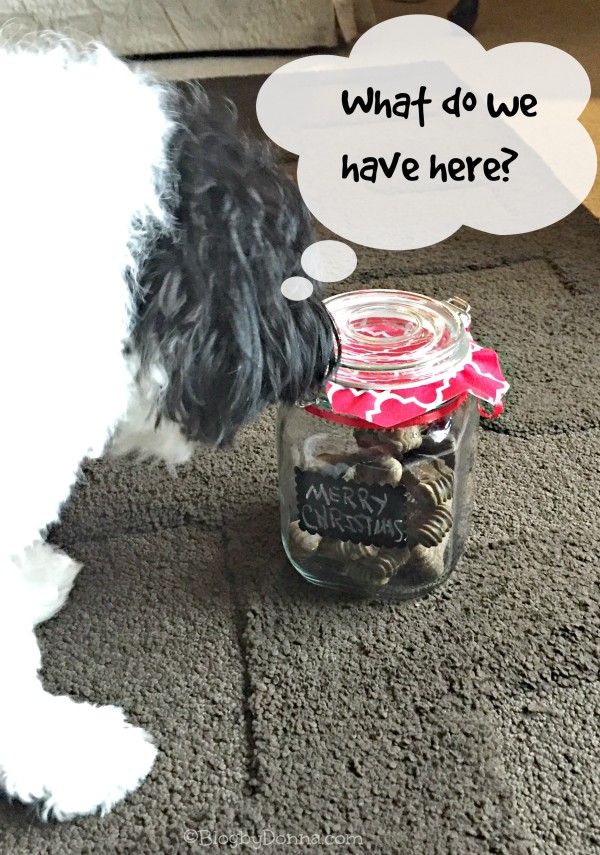
Step 6: On one side, you’ll write your pet’s name with chalk and on the other side write a greeting, message, or wish. I wrote Merry Christmas since it is a holiday-themed jar and fill your jar with the best pet treats like, Natural Balance dog treats.
I told you it was easy to make a DIY dog treat jar!
Now that Baxter has his very own treat jar, we will keep it filled up with Natural Balance treats. I love that they contain no artificial ingredients, made with premium quality proteins, and high in flavor. They have a pet treat to please any pet, from soft or crunchy, to chewy, for both cats and dogs. Baxter loves the…
- Dental Chews
- Belly Bites
- Burger Bites
- Mini Rewards
Natural Balance offers a Buy with Confidence guarantee, they are so certain you and your pets will love them. Check out the store locator page to find where you can buy Natural Balance treats for your dog and/or cat.
Stay in touch with Natural Balance via their social channels:

